Goal
If you read this article and follow the steps thoroughly, you should end up with a well-equipped system on any Linux Distribution that will make developing with V as easy as possible.
Overview
This guide is written for Ubuntu users so it should mostly work without too many changes on all Debian-based distros like Mint, Pop!_OS, Elementary, etc. We use apt to download and manage all of the prerequisite software except V. The process will be analogous for people who prefer other package managers like pacman, dnf, etc.
We will install all the necessary tools we need to compile V from scratch and finish up with a test project to ensure that everything is working as intended.
Using the Terminal to Install and Update Software
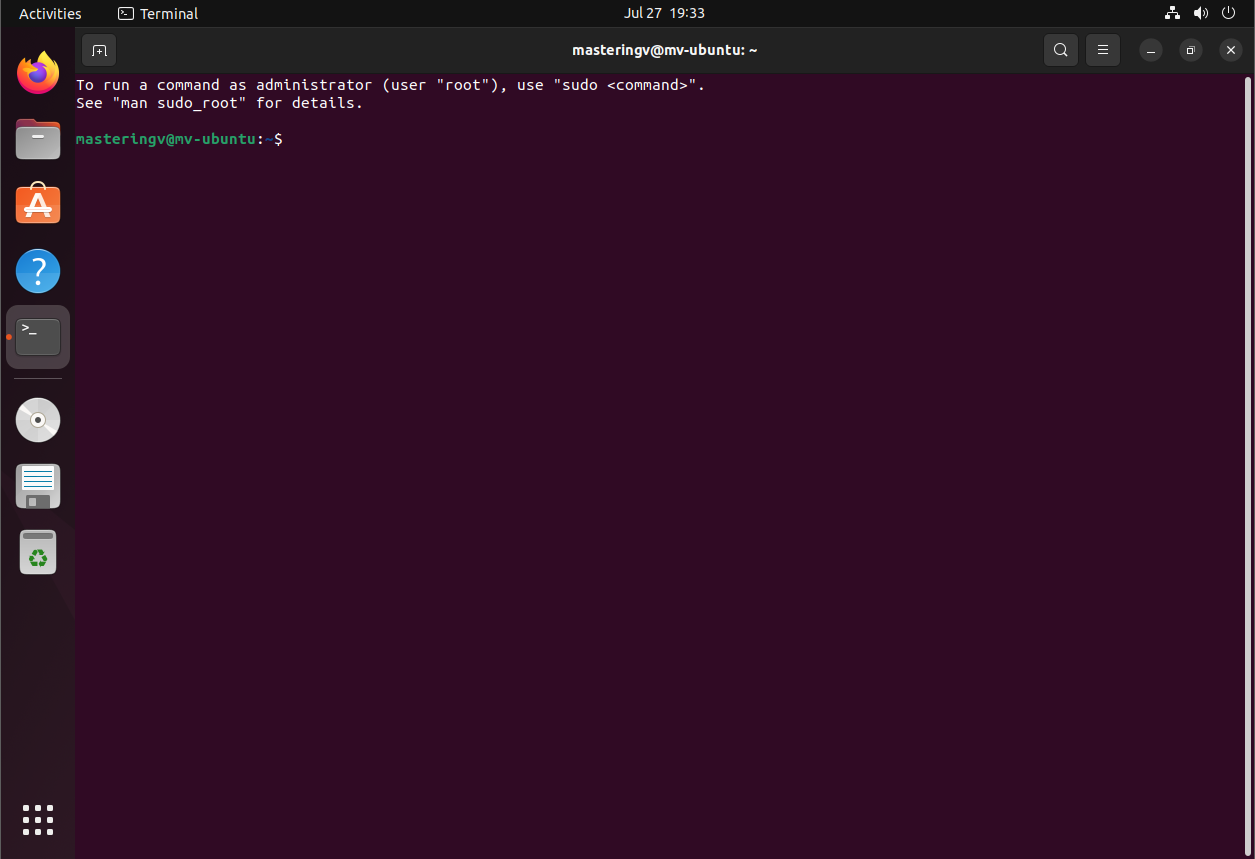
Press the Super Key (generally the Windows key) to show a search menu and type “Terminal”. Choose the best match and open up the terminal. It should look something like this:
Add it to favourites to have quick access to it when you need it.
Now we will update the system with the following commands:
sudo apt updatesudo apt upgrade -y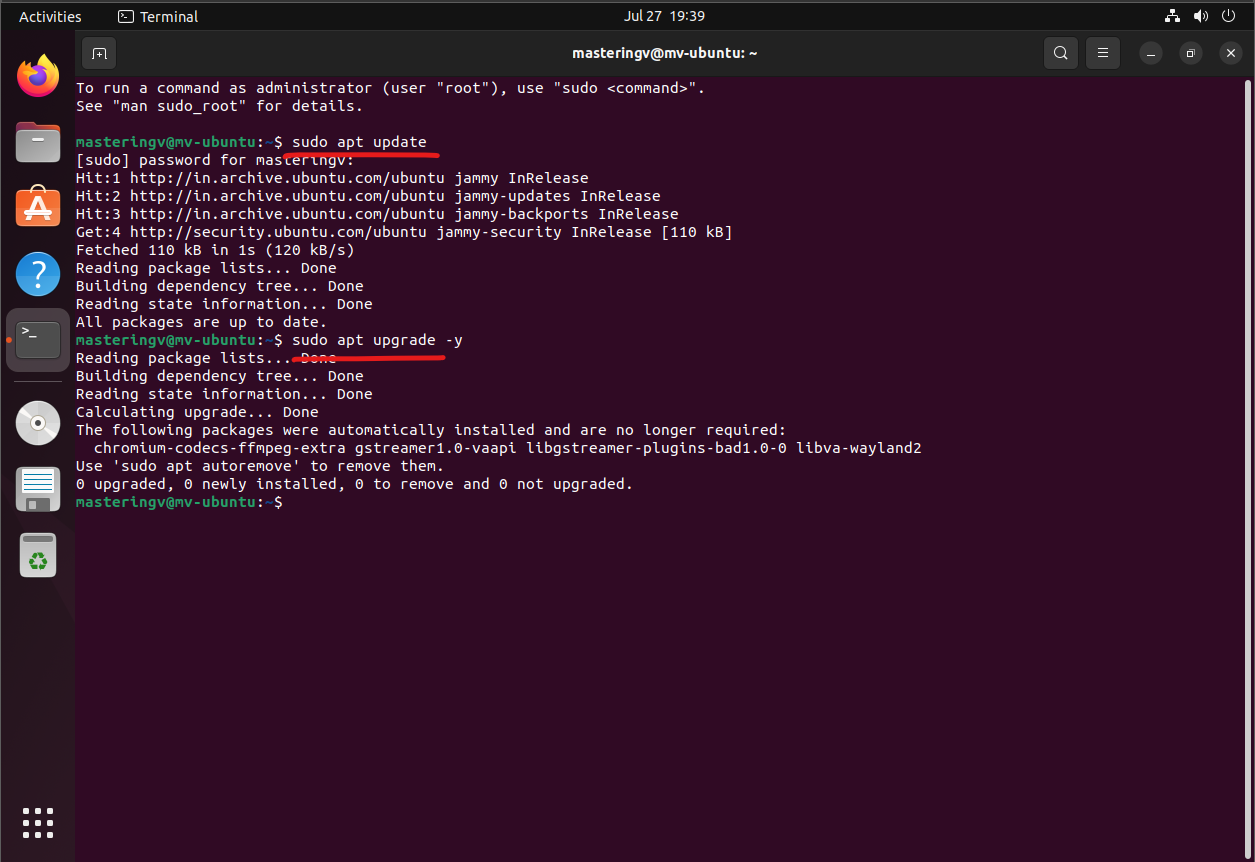
The commands can be combined with && so you can update and upgrade in one command:
sudo apt update && sudo apt upgrade -yOnce we have the latest list of software, we can download the rest of the stuff we need.
sudo apt install git build-essential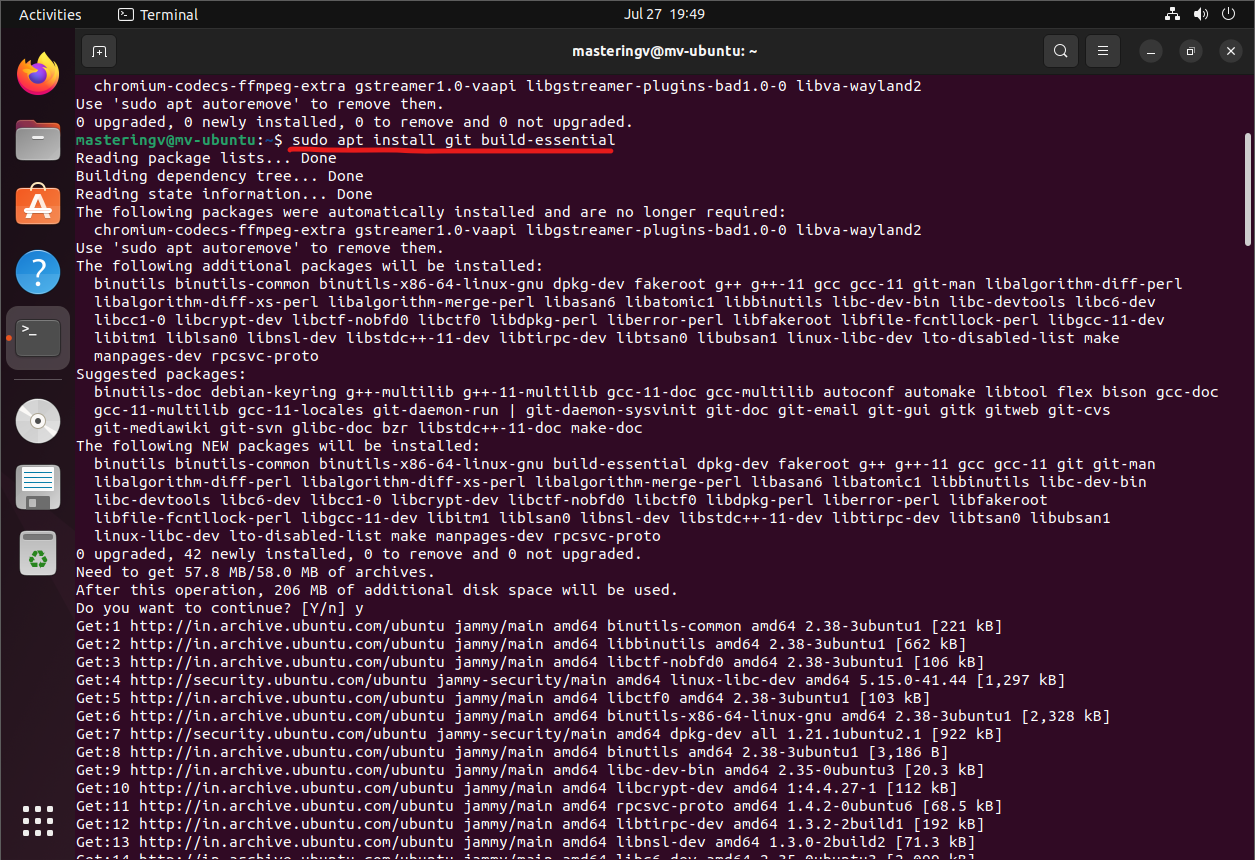
It will install the three necessary packages we need:
- Git – for obtaining the V source code and general source code organisation with version management.
- GCC – The GNU Compiler Collection, specifically the C compiler “gcc”. We will use this to create optimised executables for V projects. You can use the “clang” toolchain if you prefer.
- Make – for simplifying the build process through Makefiles.
We specify that we want to install git by specifying it in the apt install command. The rest, i.e., gcc and make are included in the build-essential group.
Once the installation is complete, we can verify that our installed software is functional using the following commands:
git --versiongcc --versionmake --versionThe outputs should be similar to this:
    $ git --version
    git version 2.34.1
$ gcc --version
gcc (Ubuntu 11.2.0-19ubuntu1) 11.2.0
Copyright (C) 2021 Free Software Foundation, Inc.
This is free software; see the source for copying conditions. There is NO warranty; not even for MERCHANTABILITY or FITNESS FOR A PARTICULAR PURPOSE. $ make --version
GNU Make 4.3
Built for x86_64-pc-linux-gnu
Copyright (C) 1988-2020 Free Software Foundation, Inc.
License GPLv3+: GNU GPL version 3 or later <http://gnu.org/licenses/gpl.html>
This is free software: you are free to change and redistribute it.
There is NO WARRANTY, to the extent permitted by law.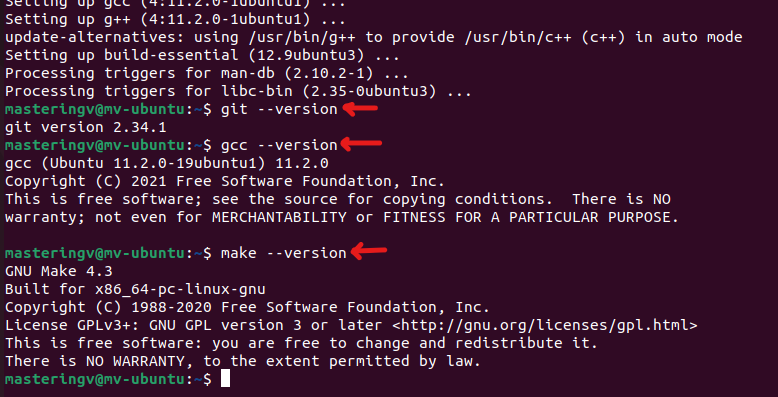
Don’t worry if the version numbers do not match exactly. The important thing is that they should be equal or higher than shown.
For other distros/package managers, the process is similar. The recommended way to approach this is to search for git, gcc (or clang) and make and then install them with the proper names.
Better Developer Experience with VS Code (Optional)
We have all the pieces we need to start building V from source and get stuck in with V. However, we want the experience to be uniform for everyone and it makes it easy for us to help diagnose and fix problems. To that effect, we recommend using Visual Studio Code. It is a spiritual successor of the Atom editor from GitHub and has now become the most popular editor among all developers.
We recommend following the steps mentioned in their official documentation: https://code.visualstudio.com/docs/setup/linux.
You can definitely install VS Code through the software centre. It will be an easy approach for most regular users. We want to add VS Code’s apt repository to our list and keep it updated with the sudo apt update && sudo apt upgrade -y command combo.
Refer to the documentation for the exact lines to copy. It can change over time. Here is what it will look like:

This successfully adds the VS Code apt repository to our local list. Now, we can proceed to install the “code” package normally, just like we would any other software from apt:
sudo apt install apt-transport-https sudo apt update sudo apt install code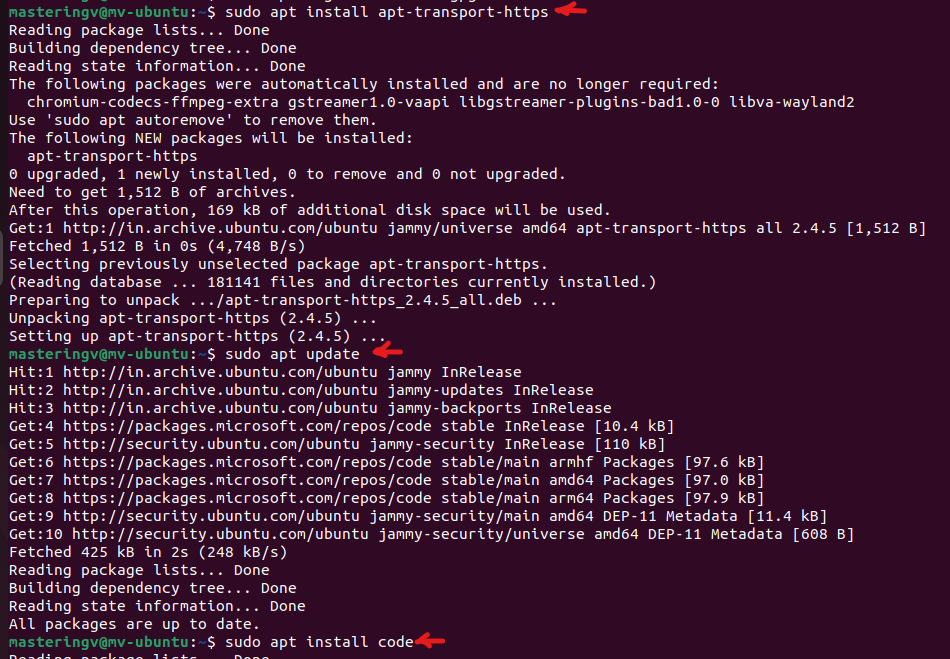
Remember to hit Return or Y when prompted if you did not include the -y switch.
We finally get to install V!
We only need to run a few simple steps to install V from source:
-
Create a new folder to install V in. We’ll make a folder called
projectsand a subfolder calledvlangto store our V projects in. To do this, execute the following command:mkdir projects/vlang -
Navigate to the folder by running this command:
cd projects/vlang -
Clone the V repository by executing the following command:
git clone --depth 1 https://github.com/vlang/v.gitThis creates a new folder
vwith all the source code and the last commit in the local history (to save some bandwidth and disk space). -
Navigate into this directory by running:
cd v -
Run
make(which will compile the V executable). -
Run
sudo ./v symlinkto add V to the path. There is no need to refresh the session or restart the terminal; you can use the “global” V executable right away. -
Verify that V works by running
v version
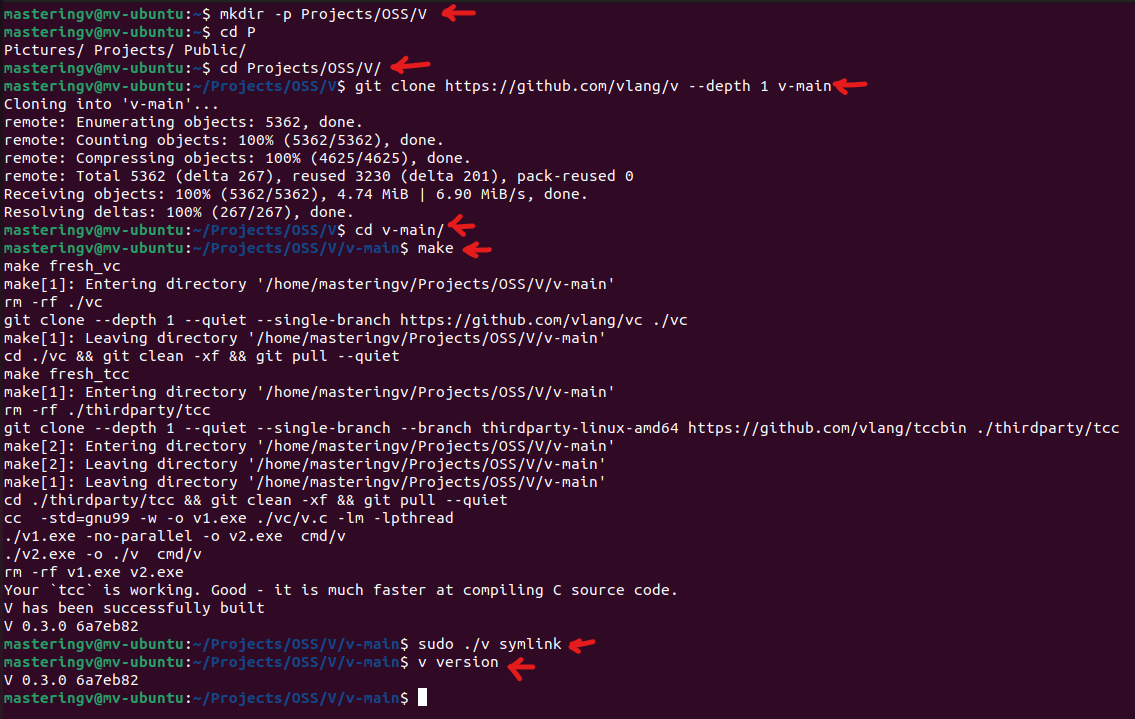
Hurrah! We now have V installed on our system. Let’s make a quick project and ensure everything works as expected.
A Test Run
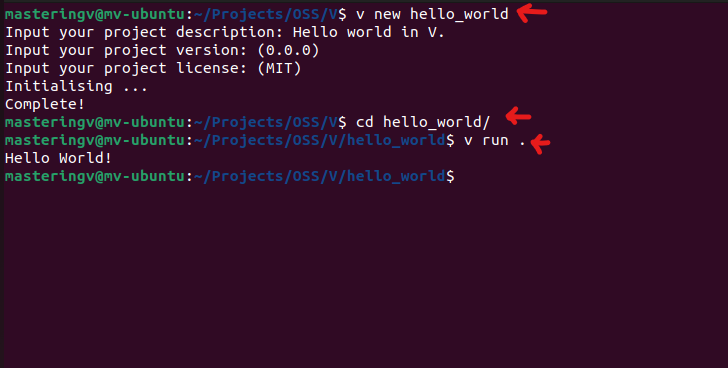
We’re going to create a hello_world project to test V and make sure we can create programs successfully.
First, navigate into our projects folder again with the following command:
cd ~/projects/vlangNext, run the command:
v new hello_worldWhen prompted for details about the version number and other project information, just leave these fields blank and press Enter. You can change these values later if you want to, by editing the v.mod file in the new hello_world project folder.
Navigate into the newly created project folder by running the following command in the Terminal:
cd hello_worldAfter this, run the following command:
v run ./hello_world.vYou should be greeted with a classic hello world message!
To test that you can compile stuff with the gcc (or clang) compiler, run the following command:
v -prod .This will generate an executable with the same name as the project, i.e. ./hello_world. Run it and you should see the same result.
Conclusion
And we’re done! You just set up a developer environment on Linux from scratch and ran some V code with it. In the next article, we will describe how to set up VS Code with the proper extensions and such.
If you run into any problems, feel free to reach out to us at <probably: [email protected]> or <our contact us page>.

