Goal
Following this article will help you set up Visual Studio Code which will make working on V projects easier.
Overview
In the previous article, we showed you how to install V along with the dependencies as painlessly as possible. We also suggested that you install Visual Studio Code to make writing source code easier. We did not do anything further though. This article will help you make decisions on how you would want to configure your installation of VS Code and curate the ultimate ergonomic environment for text editing.
Prerequisite: Installing Visual Studio Code
It is a spiritual successor of the Atom editor from GitHub and now has become a very popular editor among developers.
You can install VS Code either directly from their website, like so:
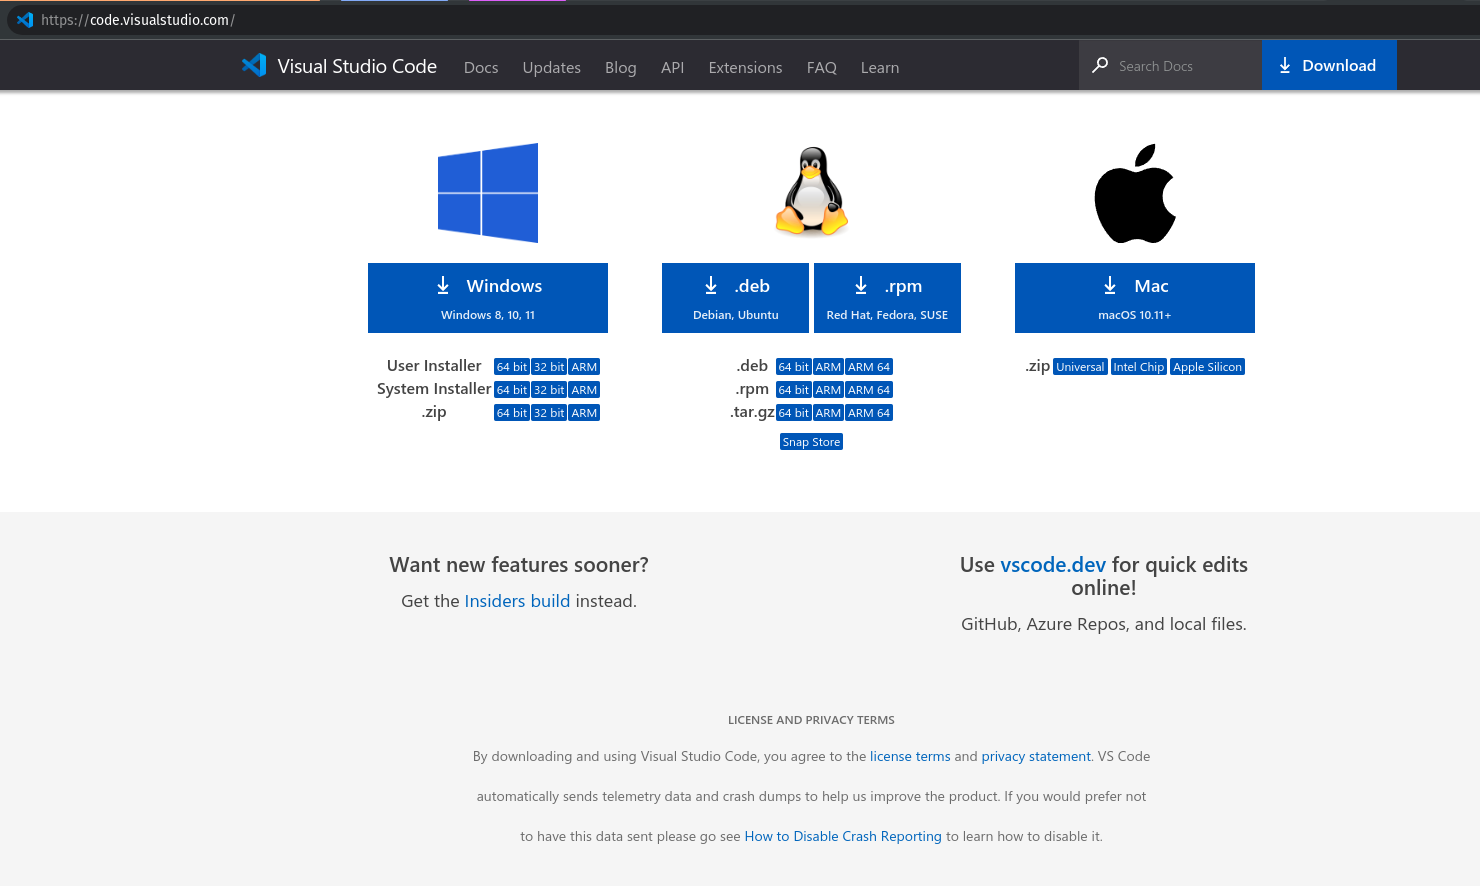
Alternatively, you can install it from the package manager of your choice. Refer to the previous article corresponding to your operating system for more information on this.
Installing Extensions
VS Code has a minimal text editing experience out of the box. It is lighter than most integrated development environments (IDEs) in this regard. However, we can greatly extend the capabilities of the editor by installing additional software called ‘Extensions’. These are plugins written by Microsoft or (more likely) third party developers that add new functionality to VSCode.
We recommend a few extensions that you could install to make your experience better and give you an idea of what’s possible. First locate this icon on the sidebar and click on it. Hover on the icon to show its keyboard shortcut.

This will cause a search bar to pop out. Type in the name of the extension that you want to look for. It will show results from the extensions marketplace.
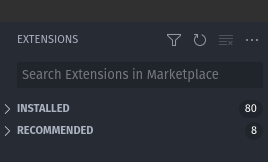
Click on a search result to show more details of an extension. Then click on the install button to install it. This process is the same for most extensions in the marketplace. Some may have additional post-installation steps which should be simple to follow through.
Note that the extensions may have version numbers greater than those shown in the screenshots here. In order to make sure that you have the correct extension selected, check the metadata like downloads, ratings, version, publisher, among other things.
One Dark Pro – For Aesthetics
For some people, the default theme for VS Code may be bland. A recommendation is the One Dark Pro extension that adds a handful of themes.
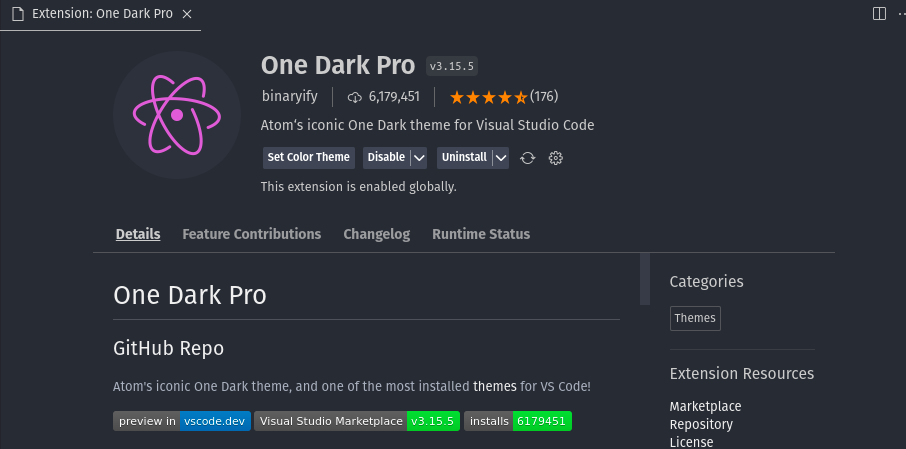
After installing the extension, you can choose the color theme from the command palette (access it by pressing Ctrl+Shift+P and typing ‘theme’). VS Code has a nifty feature where hovering on the theme option previews it so that you can try different options faster.
vscode-icons – For Better Icons
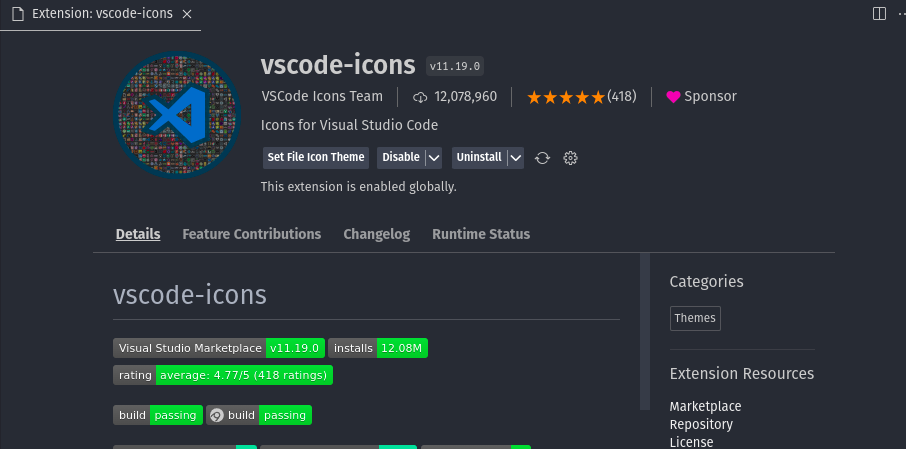
By default, the icons shown in the explorer sidebar are not very informative. This extension adds a whole bunch of icons for the most common file types, including V!
The V Extension – Syntax Highlighting and VLS
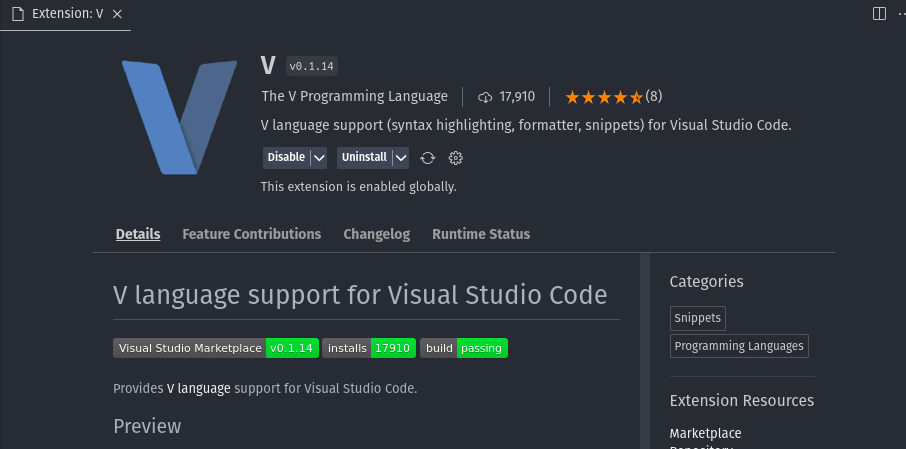
This is the official V language extension for VS Code published by the organization. It takes care of code highlighting, formatting, and optionally, installs the V Language Server (VLS). The VLS supports code completion, error linting, and a lot of other cool stuff.
It is important to note that this is still a work in progress, so you may encounter issues while using VLS. If that happens to you, make sure to report the errors on the V Language official discord server (https://discord.gg/vlang), and perhaps disable VLS in the meantime on the Settings Page. You can access the settings by pressing Ctrl+, (that is, Ctrl+comma) or from the command palette.
Conclusion
We now have a solid base for working on V projects across all standard systems. Most of the V users on the Discord server rock this configuration, so if you encounter any errors, help will be abundant. In case of specific questions or suggestions about this article feel free to reach out to us!

